As more homeowners and businesses turn to renewable energy, a solar panel installation has become a popular choice for reducing energy costs and minimising environmental impact. At Purelec Energy, we understand that the decision to invest in solar power is significant – and if you’re unfamiliar with the process, you might be unsure exactly what it involves.
Here, we walk you through what to expect during the installation of solar panels, from the initial assessment right through to follow-up support.
Step 1: Initial assessment and consultation
The journey to energy independence begins with a detailed assessment. When you first contact us, we’ll schedule a site visit to evaluate your property’s solar potential. During this consultation, our solar panel installers will assess factors such as:
- Roof condition: We’ll carry out an initial visual inspection to assess the age, material, and structural integrity of your roof to ensure it can support the weight of the solar panels. This will later be followed up by a full structural survey.
- Sun exposure: We’ll analyse your property’s sun exposure, taking into account shading from trees or nearby buildings, to determine the optimal placement for your panels.
- Energy needs: We’ll review your current energy usage to recommend a system size that will meet your power needs while maximising efficiency.
This assessment is crucial for tailoring the solar panel installation to your specific needs, ensuring you get the most from your investment.
Step 2: Customised solar design and planning
Once the initial assessment is complete, our team will design a customised solar power system tailored to your property. This design phase includes:
- System layout: We’ll create a layout that details where each panel will be placed to capture maximum sunlight.
- Financial planning: We’ll discuss available incentives, rebates, and financing options to make installing solar panels as affordable as possible.
- Permission and approvals: We handle all necessary permissions and approvals from your local authority and utility companies. This includes grid approval, building regulations sign off, electrical sign off with the NICEIC, and full MCS certification – so you don’t have to worry about the paperwork.
- For the majority of installations, solar is classed as permitted development. In a few cases, planning approval is required. We can put you in touch with a competent expert who can offer partial or full support.
Clear communication during this stage ensures you’re fully aware of the timeline and what to expect during the solar panel installation.
Step 3: Installation day
The average domestic installation of solar panels typically takes one to three days, depending on the size and complexity of the system. For commercial systems, this varies widely depending on the number of panels and inverters being installed.
A system around 20 kWp in size (circa 40 panels) may take around two to four days, with 50 kWp (circa 100 panels) taking around four to seven days and something larger like a 300 kWp array size (circa 600 panels) around 10 to 15 days. These estimated time frames are based on a trapezoidal metal roof and centrally-located inverters. Yorkshire stone, slate, and in-roof systems will all add time.
Here’s what happens on the installation day:
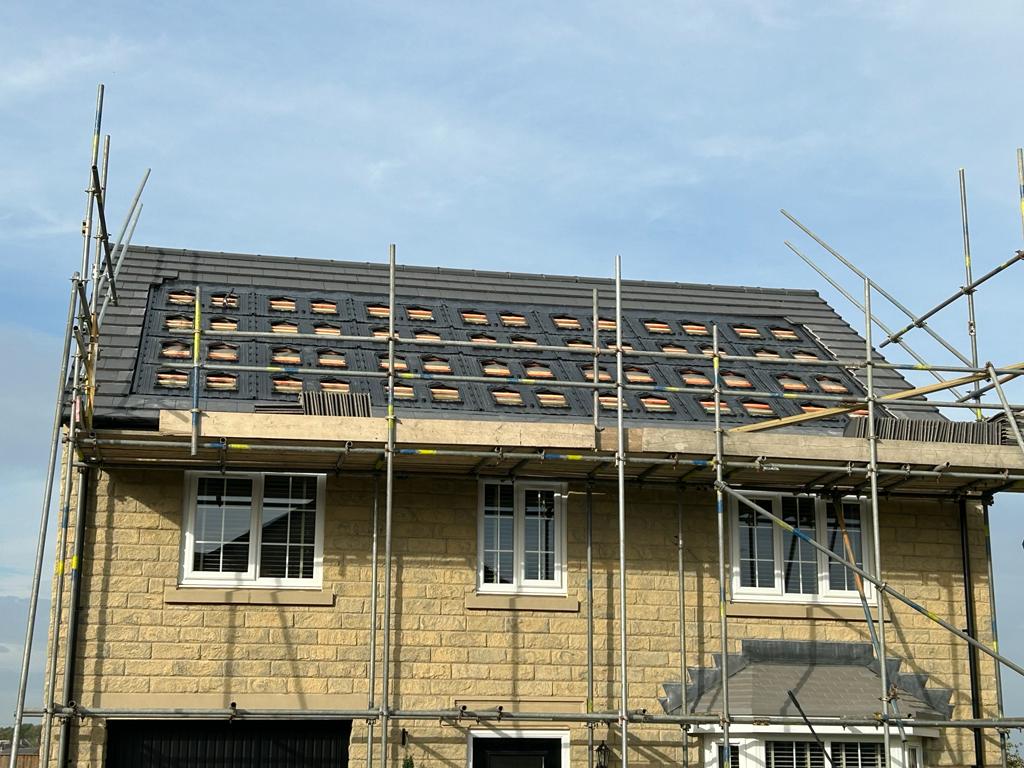
- Arrival and setup: Our team of certified solar panel installers will arrive at your property with all the necessary equipment and materials. We’ll set up safety measures and prepare your roof for the installation.
- Panel mounting: We start by attaching the mounting hooks to your roof, which serve as the foundation for the solar panels. These hooks are carefully positioned to ensure maximum durability, avoiding wind uplift and snow load issues.
- Electrical wiring: Next, we install electrical wiring that connects your panels to the inverter, which converts the solar energy into usable electricity for your home or business.
- Inverter installation: The inverter is usually installed near your main electrical panel. This component is critical as it converts the direct current (DC) generated by the panels into alternating current (AC) that powers your property.
- Connecting to the grid: Finally, we connect your solar power system to the grid and perform a series of tests to make sure everything is functioning correctly.
Step 4: Inspection and commissioning
After the installation is complete, a final inspection is required before your solar power system can be commissioned. This inspection will be carried out by one of our competent engineers who will verify that the installation meets all safety and building codes. Once approved and signed off, your system can be switched on, and you’ll start generating clean, renewable energy.
Step 5: Follow-up support and monitoring
With a strong focus on customer service and aftercare, we won’t leave you after the installation is complete. We provide ongoing support to ensure your system operates at peak performance. Our follow-up services include:
- Monitoring: We can offer monitoring services to track your system’s performance and alert you to any issues that may arise. Today’s monitoring platforms and apps are extremely advanced, making it easy for customers to monitor this by themselves, should they choose.
- Maintenance: While solar panels are low maintenance, we’re here to assist with any cleaning or repairs that might be needed over time.
- Customer support: Our team is always available to answer any questions you may have post-installation, ensuring your experience with solar power remains positive.
Installing solar panels is a straightforward process when you partner with experienced professionals. By understanding what to expect during a solar panel installation, from the initial assessment to ongoing support, you can be confident you’re making a smart investment in your future.
Ready to make the switch to solar? Contact us to schedule your initial consultation and take the first step toward a more sustainable, cost-effective energy solution.